Learn more


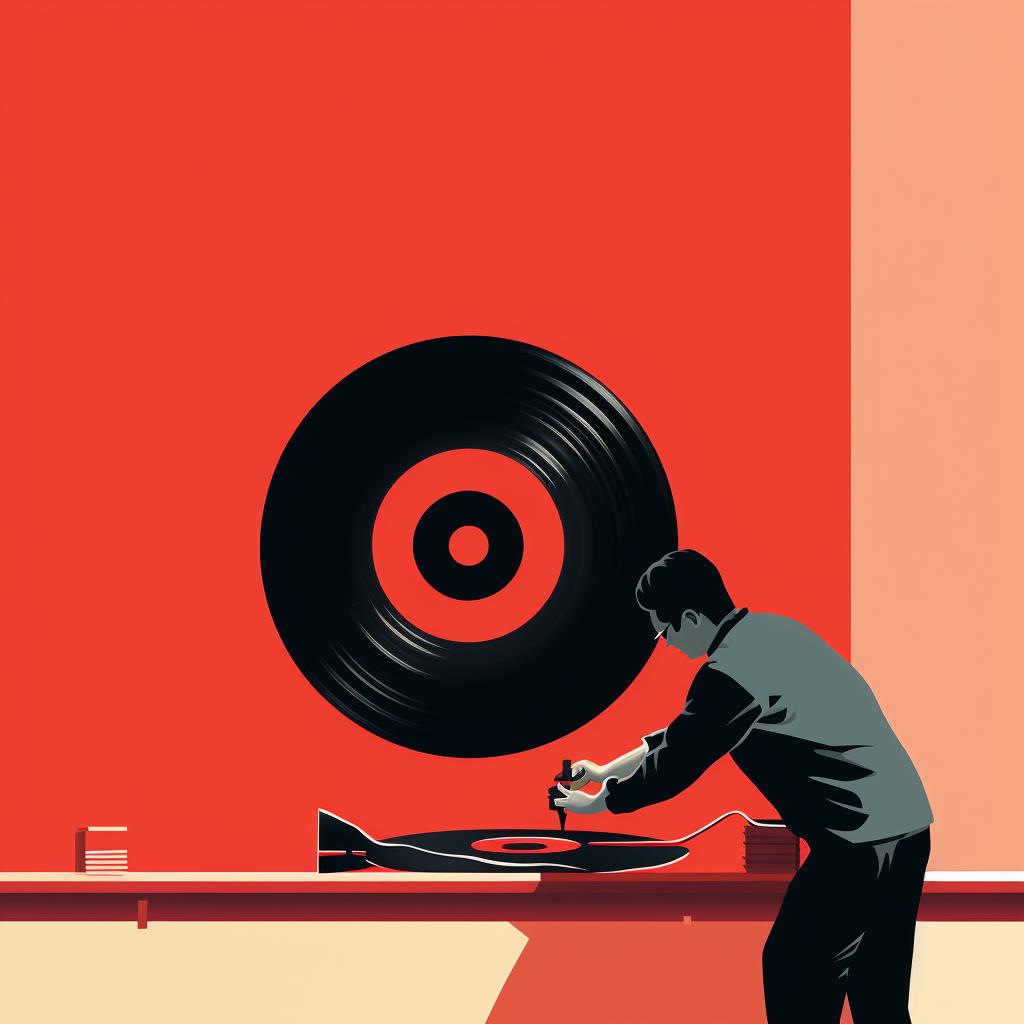

Are you tired of dealing with unwanted noise in your home recording studio or podcasting space? Look no further! Fresh Out of the Booth is here to guide you through the process of DIY soundproofing. With our step-by-step guide, you'll be able to create a quiet and professional environment for all your audio needs.
Step 1: Gather Your Materials
Before you begin, make sure you have all the necessary materials. These include Mass Loaded Vinyl, Acoustic Foam Panels, Green Glue, and tools for sealing gaps and cracks. Having everything ready will save you time and ensure a smooth process.
Step 2: Add Mass to the Walls
Start by adding an extra layer of Mass Loaded Vinyl to your walls. This dense and thin material is perfect for reducing sound transmission. By increasing the mass of your walls, you'll effectively block out unwanted noise and create a more controlled acoustic environment.
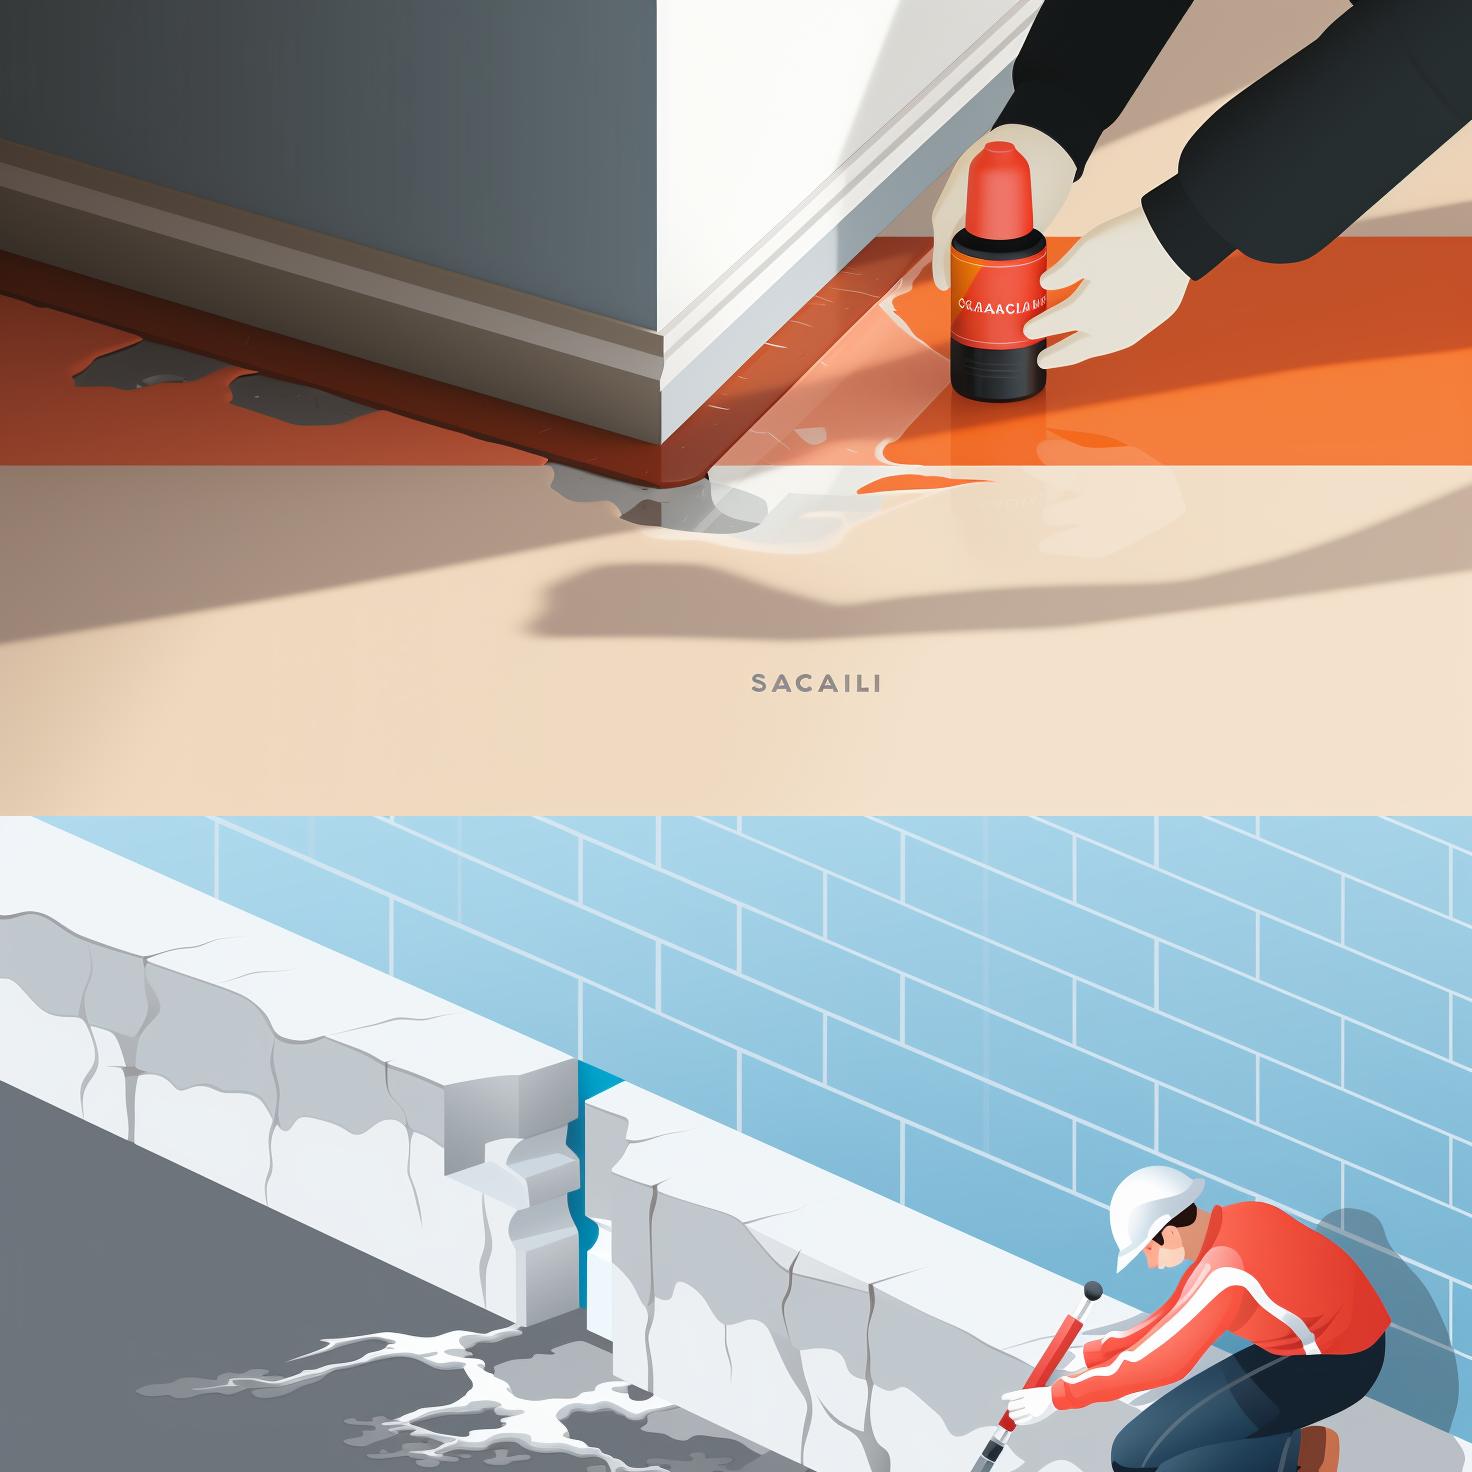
Step 3: Seal All Gaps and Cracks
Sound can easily travel through even the smallest openings, so it's crucial to seal all gaps and cracks in your walls, doors, and windows. Use acoustic sealant to fill in any spaces that might allow sound to leak in or out. This step is essential for achieving optimal soundproofing results.
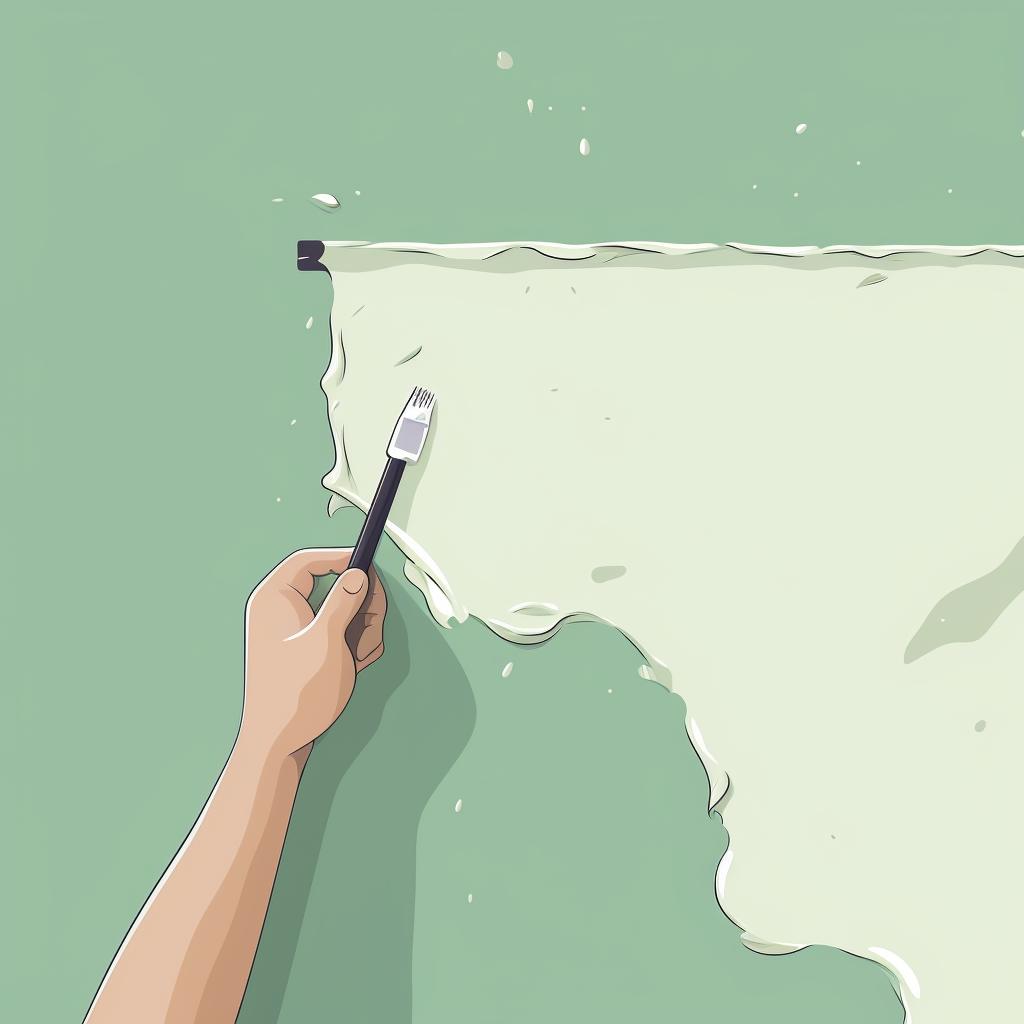
Step 4: Apply Green Glue
To further enhance soundproofing, apply Green Glue between two layers of drywall or other rigid materials. This noise-proofing compound helps to dampen vibrations and reduce sound transmission. By adding this extra layer of protection, you'll significantly improve the soundproofing capabilities of your space.
Step 5: Implement Decoupling
Decoupling is the process of separating the connection between two sides of a wall to prevent sound vibration. This can be done using resilient channels or isolation clips and hat channels. By implementing decoupling techniques, you'll minimize the transfer of sound waves through the structure of your space.
By following these steps, you'll be well on your way to creating a soundproofed environment that allows you to focus on your recordings without any distractions. Whether you're a musician, podcaster, or voice actor, having a properly soundproofed space is essential for achieving professional-quality results.
At Fresh Out of the Booth, we're committed to providing you with the latest tips, guides, and equipment recommendations to help you set up your home recording studio or start a podcast. Stay tuned for more informative content to take your audio production to the next level. Happy soundproofing!
All Rights Reserved © 2024


