Learn more


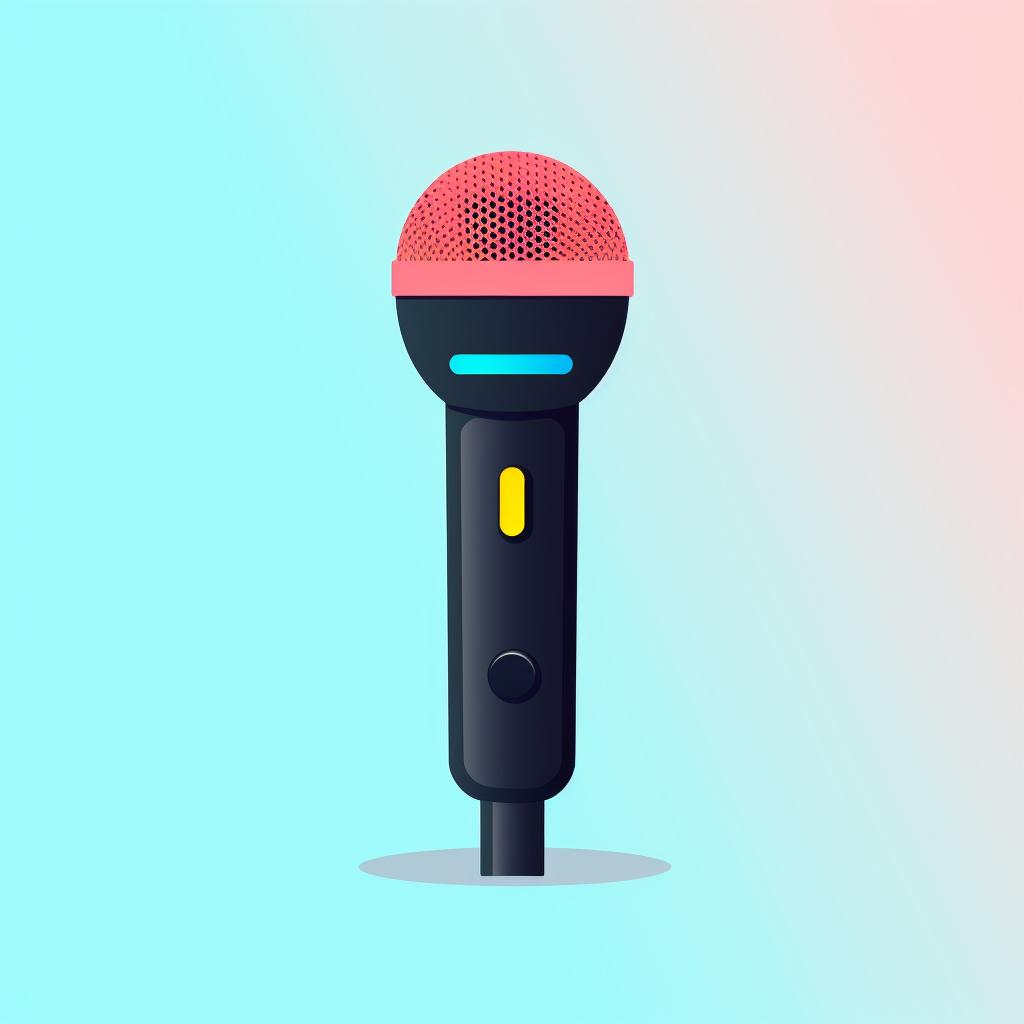

Setting up a home recording studio can be an exciting and rewarding endeavor. Whether you're a musician, podcaster, or voiceover artist, having a professional-quality microphone setup is crucial for capturing clear and high-quality audio. In this step-by-step guide, we'll walk you through the process of mastering your microphone setup to ensure optimal sound quality.
Step 1: Choose the Right Space
The first step in setting up your microphone is selecting the right space for recording. Look for a quiet room with carpeted floors to minimize echo and reverberation. Avoid rooms with lots of windows or hard surfaces, as they can cause unwanted reflections and distortions in your recordings.
Step 2: Position Your Microphone Correctly
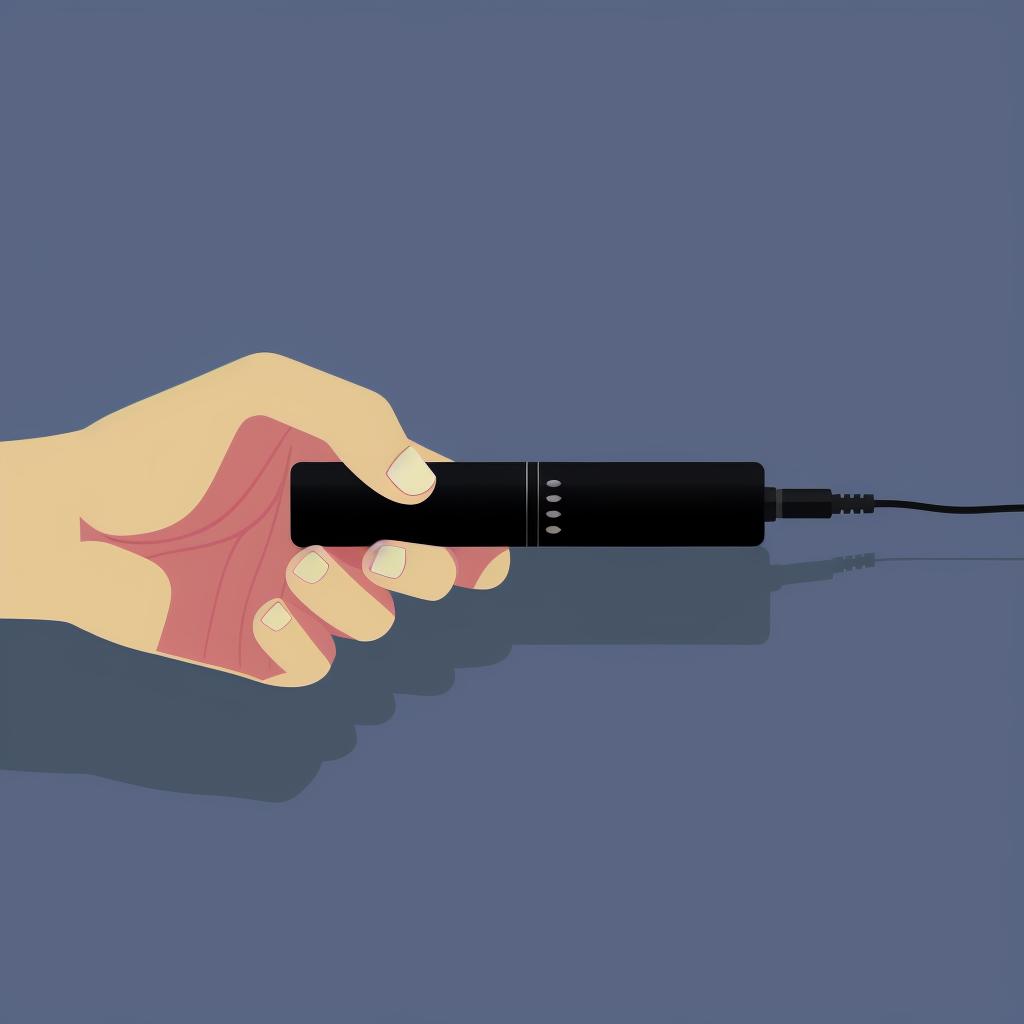
Once you've found the perfect recording space, it's time to position your microphone correctly. Place the microphone at a 45-degree angle from your mouth, approximately a fist's distance away. This positioning helps reduce plosive sounds (like 'p' and 'b') and sibilance (hissing sounds on 's'), resulting in a more natural and balanced sound.
Step 3: Adjust the Gain
The gain control on your microphone determines its sensitivity. Start with a lower gain setting and gradually increase it until you achieve a clear, distortion-free sound. Remember, it's easier to amplify a quiet recording than to fix a distorted one. Experiment with different gain levels to find the sweet spot for your voice and recording environment.
Step 4: Use a Pop Filter
To further enhance the quality of your recordings, consider using a pop filter. A pop filter is a screen that sits between you and the microphone, helping to reduce plosive sounds that can cause distortion. Position the pop filter about 2 inches from the microphone for optimal results.
Step 5: Test Your Setup
Before you start recording, it's essential to test your microphone setup. Put on a pair of headphones and listen to a quick test recording to check for any background noise or distortion. Make any necessary adjustments to your microphone positioning, gain settings, or pop filter placement to ensure a clean and professional sound.
By following these simple steps, you can master your microphone setup and achieve professional-quality recordings in your home studio. Remember to choose the right space, position your microphone correctly, adjust the gain, use a pop filter, and test your setup before recording. With these tips, you'll be well on your way to creating exceptional audio content.
So, whether you're a musician looking to record your next hit song, a podcaster sharing your stories, or a voiceover artist lending your voice to various projects, mastering your microphone setup is a crucial step in achieving professional-quality audio. Take the time to optimize your recording environment and follow these steps, and you'll be amazed at the difference it makes in your final recordings. Happy recording!
All Rights Reserved © 2024


