Learn more


Setting up your home recording studio requires careful planning and attention to detail, especially when it comes to lighting. The right lighting can greatly enhance the atmosphere and functionality of your studio space. In this comprehensive guide, we will take you through the step-by-step process of setting up your studio lighting for optimal results.
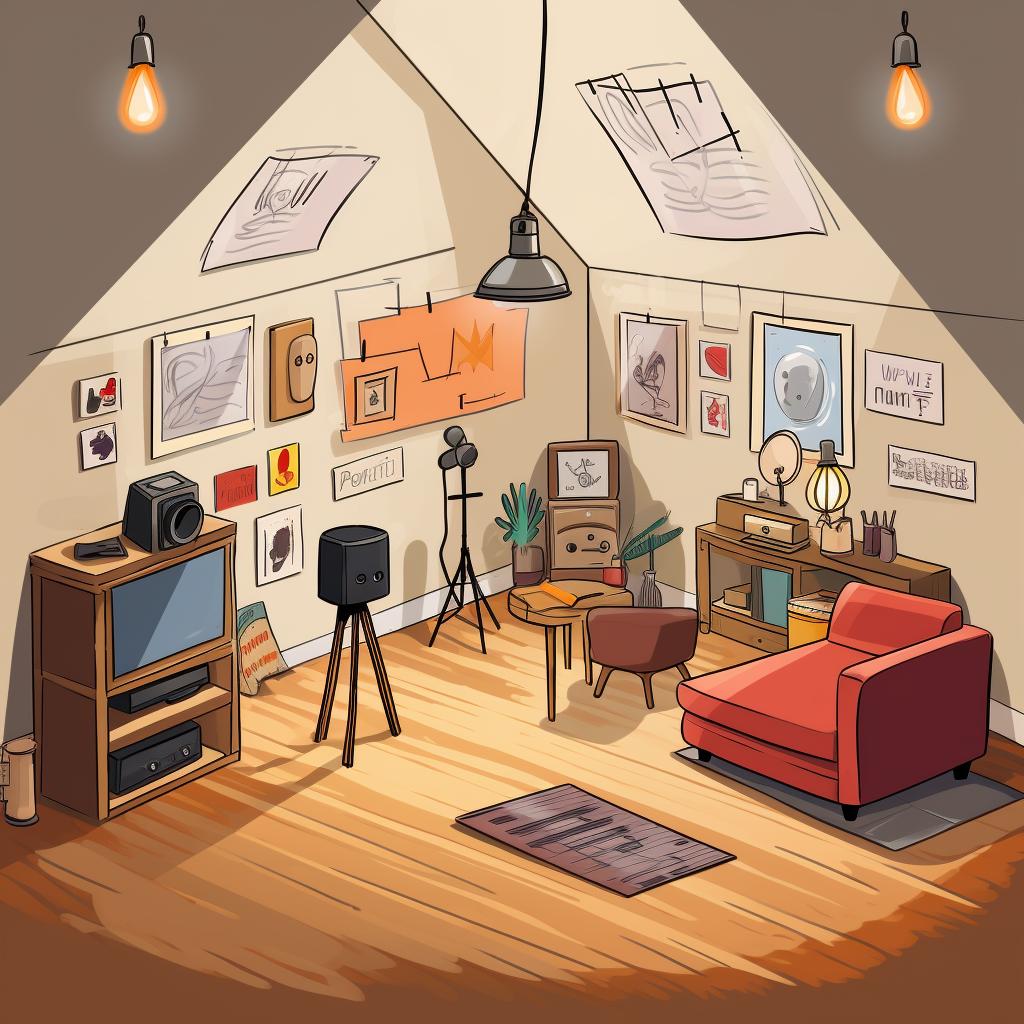
Step 1: Plan Your Lighting Layout
Before you start installing lights, take the time to sketch a rough layout of your studio and decide where you want to place your lights. Consider the different types of lighting you'll need, such as ambient, task, and accent lighting, and how they will work together to create the perfect atmosphere.
Step 2: Choose the Right Color Temperature
The color temperature of your lights can have a significant impact on the mood of your studio. Warmer lights create a cozy and relaxed vibe, while cooler lights can make the space feel more professional and focused. Choose a color temperature that suits your needs and preferences.
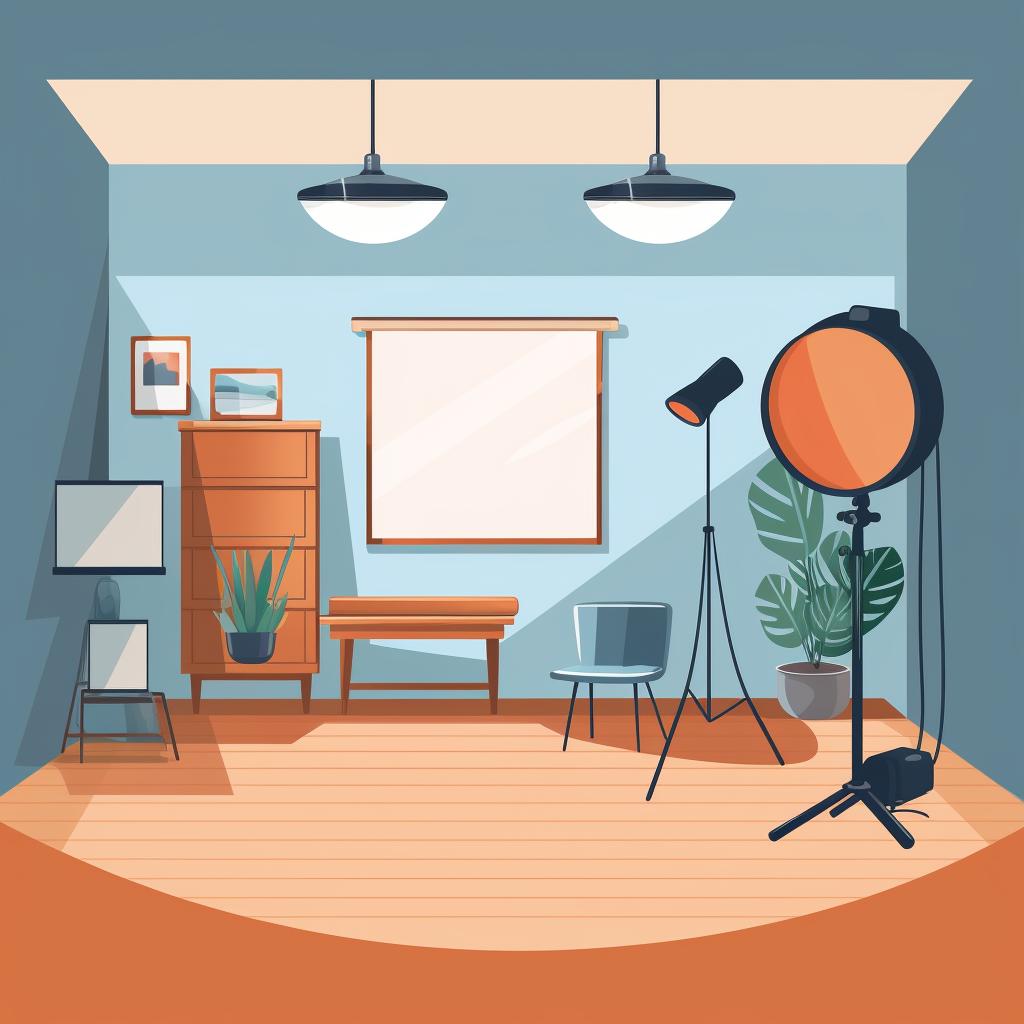
Step 3: Install Ambient Lighting
Start by setting up your ambient lighting, which will be the main source of light in your studio. Make sure it is evenly distributed across the room to avoid any dark or bright spots. Dimmable LED lights are a great option as they allow you to adjust the brightness according to your needs.
Step 4: Set Up Task Lighting
Next, install task lighting in areas where you'll be performing specific tasks, such as your mixing desk or instrument area. Adjustable desk lamps or spotlights work well for task lighting, as they can be directed to illuminate specific areas.
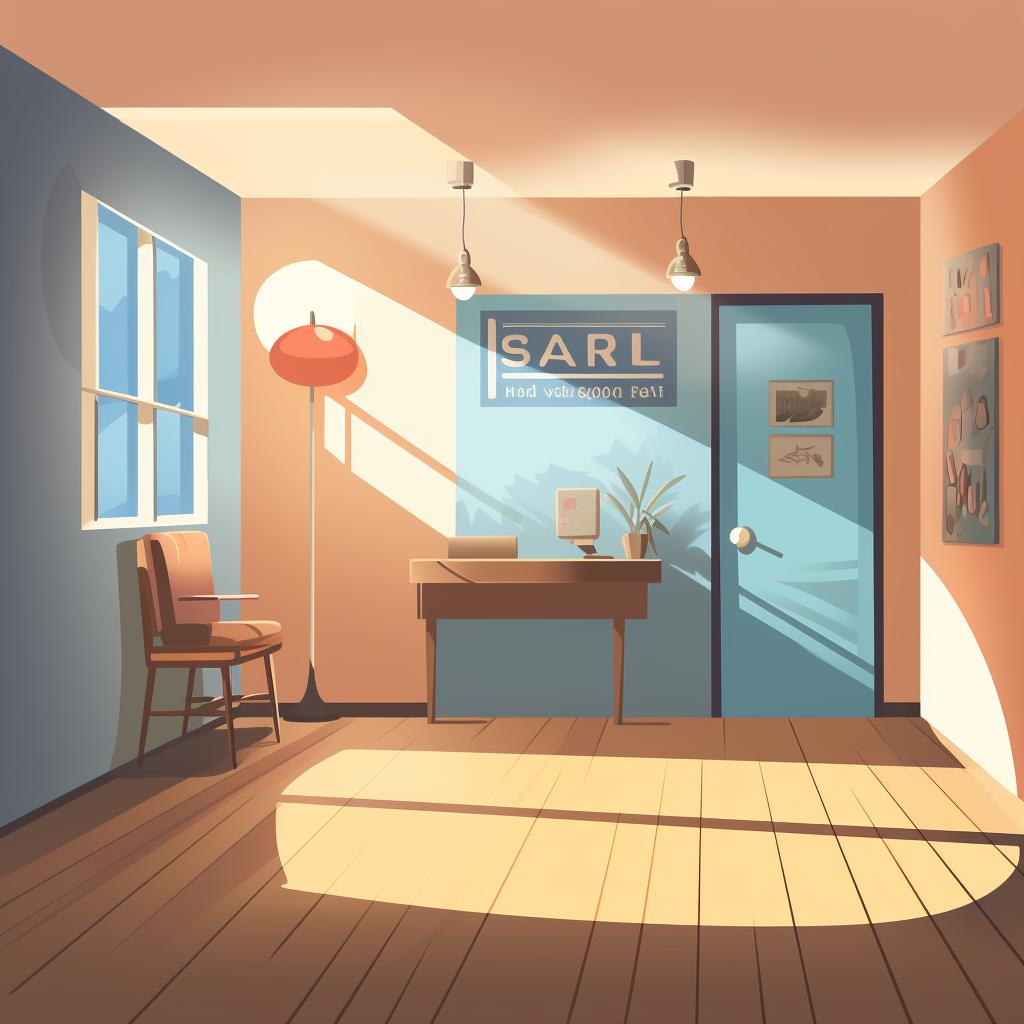
Step 5: Add Accent Lighting
To add visual interest and highlight specific features in your studio, consider adding accent lighting. LED strip lights along a wall or a backlit sign with your studio's name can create a unique and professional look.
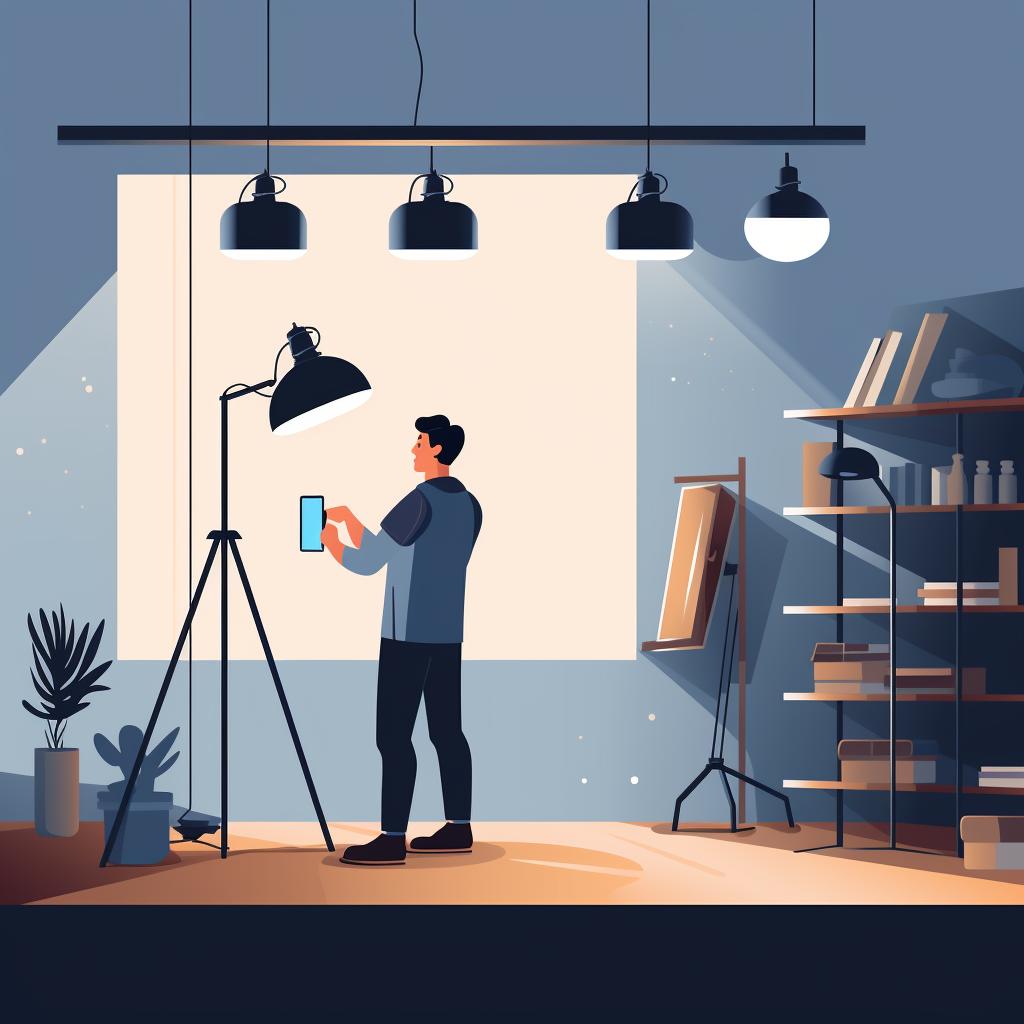
Step 6: Adjust and Test Your Lighting
Once all your lights are installed, take the time to adjust and test them. Make sure there are no overly dark or bright spots and that the overall lighting creates the atmosphere you desire. Remember, you can always add or remove lights as needed to achieve the perfect balance.
By following these steps, you can create a well-lit and inviting studio space that enhances your creativity and productivity. Remember to consider your specific needs and preferences when choosing lighting options, and don't be afraid to experiment and make adjustments until you achieve the desired results. Happy recording!
All Rights Reserved © 2024


