Learn more

Transforming your bedroom into a professional sound booth can seem like a daunting task. But with the right guidance and a little determination, you can create a space that not only sounds great but also feels like a creative sanctuary. Our step-by-step guide above provides you with the basics, but let's delve a little deeper into each step.
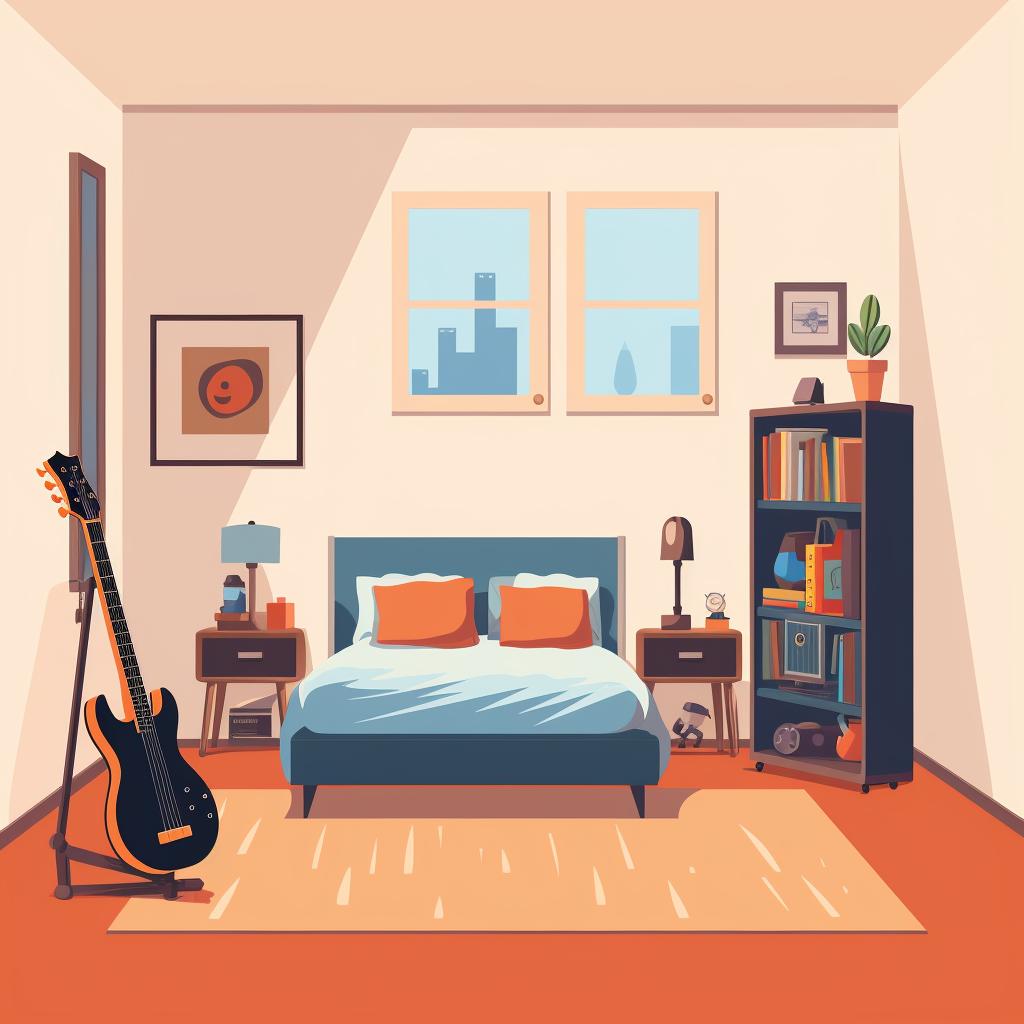
Step 1: Choose Your Space
Choosing the right room is crucial for the success of your home studio. As mentioned, you want a quiet, well-ventilated room with minimal outside noise. But what does that mean exactly? Our article on Turning Your Bedroom into a Recording Studio provides more detailed insights on what to consider when choosing your space.
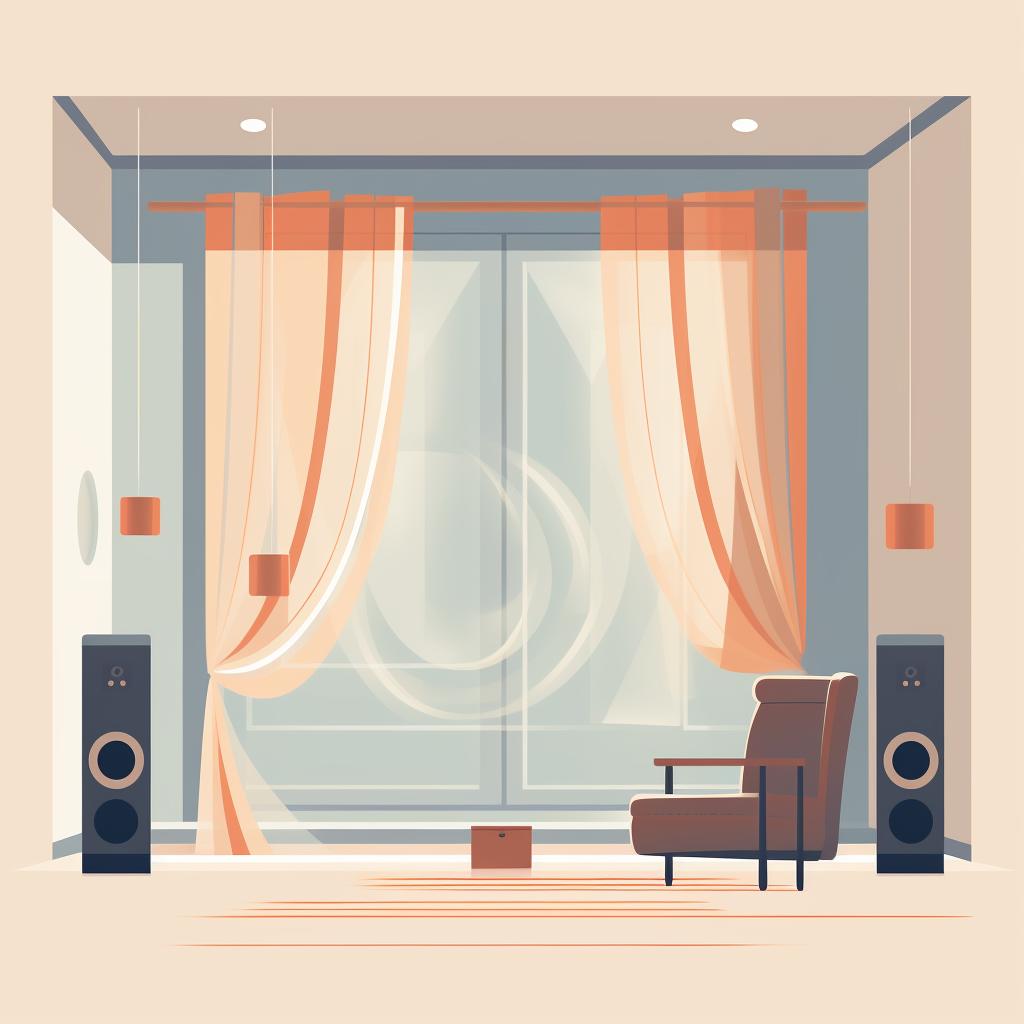
Step 2: Treat the Acoustics
Treating a room's acoustics can be a science in itself. But don't worry, you don't need a physics degree to get it right. Our DIY Guide on Soundproofing Your Home Studio can help you understand the basics of sound reflection and how to use diffusers, absorbers, and everyday household items to your advantage.
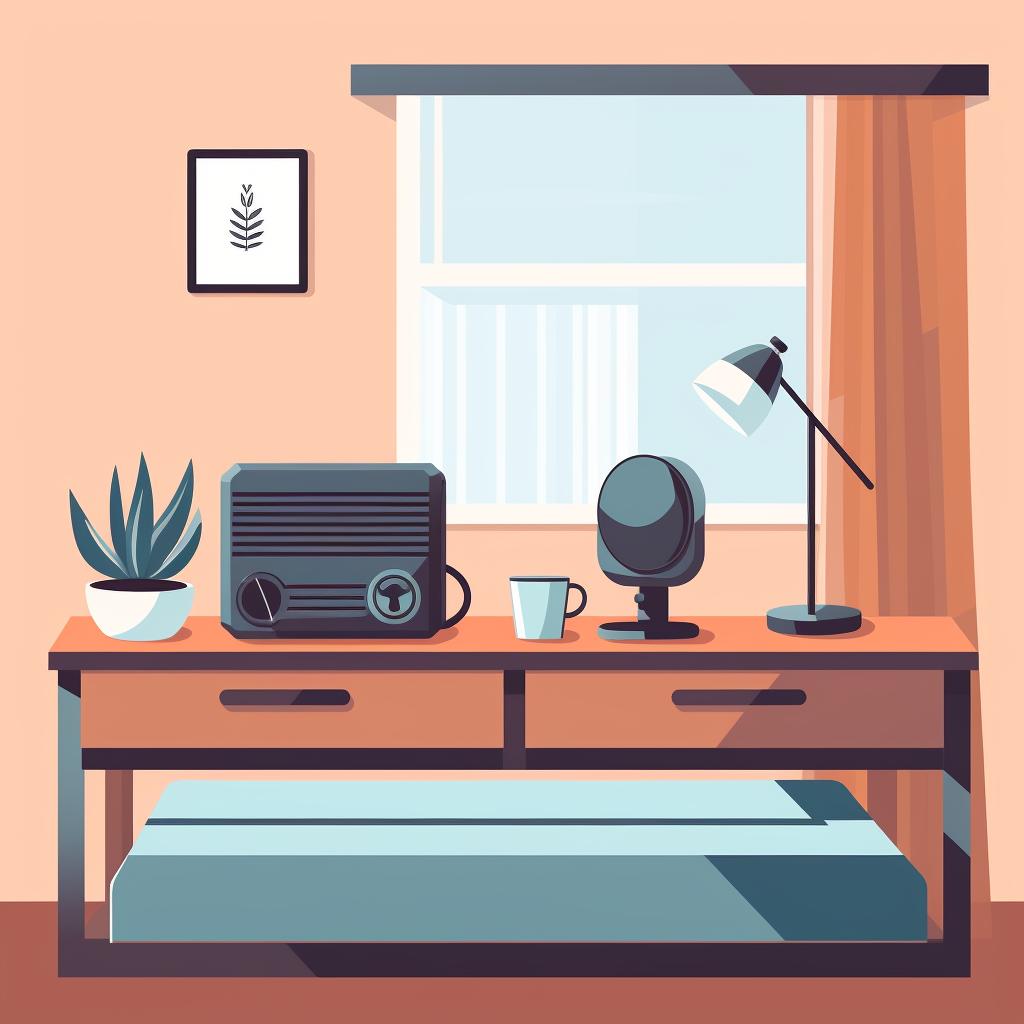
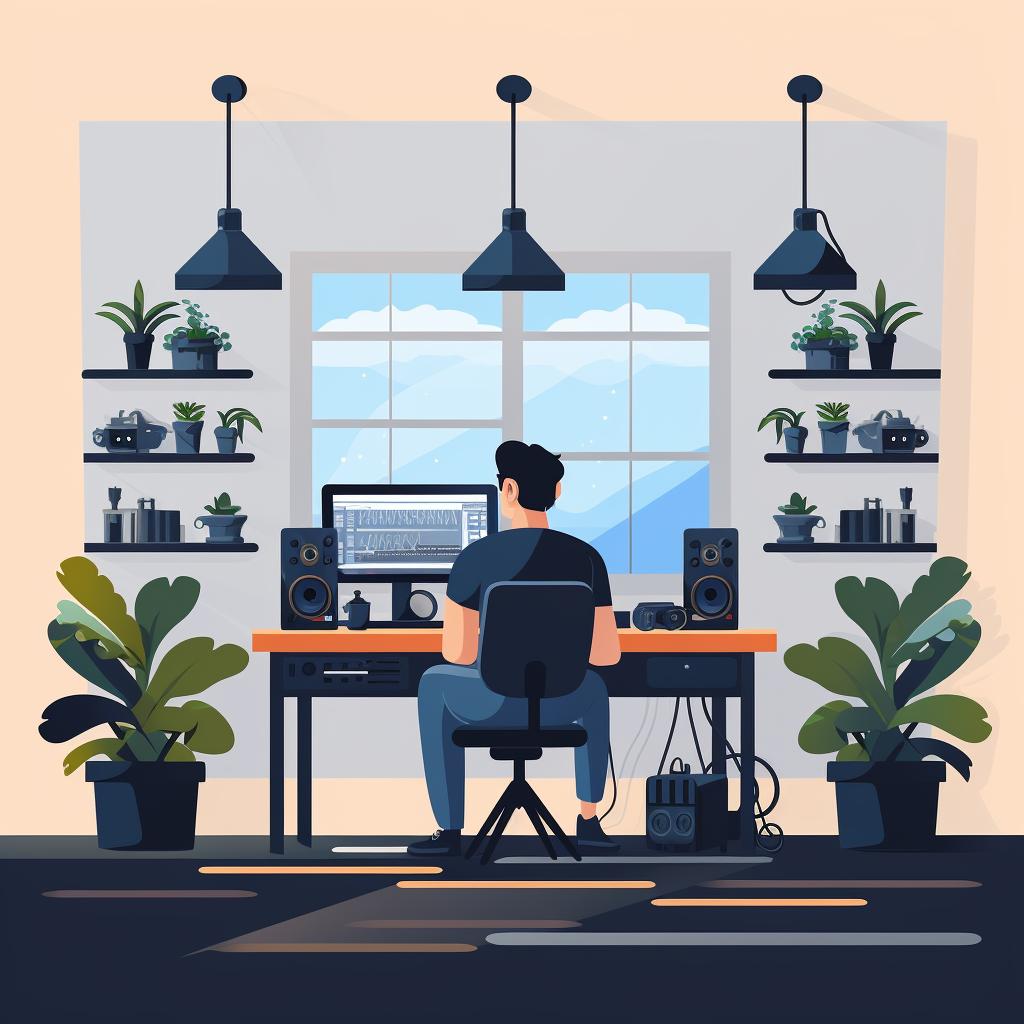
Step 3: Position Your Equipment
Positioning your equipment correctly is key to achieving a balanced sound. But where should you place your speakers? How high should the microphone be? For answers to these questions and more, check out our FAQ on setting up a home studio.
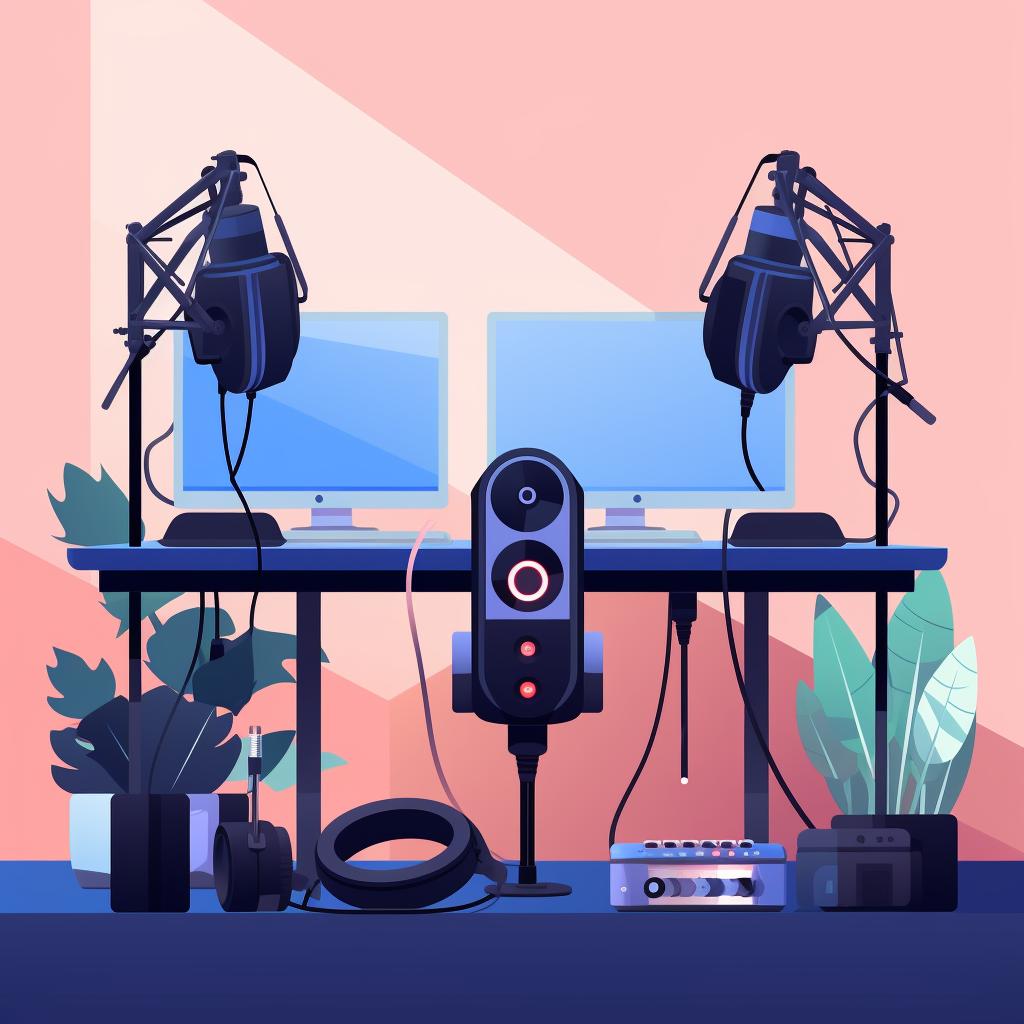
Step 4: Connect Your Gear
Now that your room is ready and your equipment is in place, it's time to connect everything. This might seem like a simple task, but the order in which you connect your gear can affect the overall sound quality. Our article on DIY Home Recording Studio Setup provides a comprehensive guide on how to connect your gear for the best sound quality.
Step 5: Test the Sound
Last but not least, it's time to test the sound. This step is crucial, as it allows you to make any necessary adjustments to your setup. Our FAQ on achieving professional studio sound quality at home provides tips on what to listen for and how to fine-tune your setup.
Remember, setting up a home studio is a journey, not a destination. Don't be afraid to experiment and make changes as you go. With time and practice, you'll create a space that not only sounds amazing but also inspires you to create your best work.
All Rights Reserved © 2024


