Fresh Out of the Booth Comprehensive Guides for Home Recording and Podcasting

🔇 Soundproofing Your Home Studio: A Step-by-Step Guide 🔇

Learn how to soundproof your home studio with this step-by-step guide. Identify noise sources, seal doors and windows, install acoustic panels, use bass traps and diffusers, add a carpet or rug, and check your work. Create the perfect recording environment!

Soundproofing Your Home Studio: A Step-by-Step Guide

Person pointing at potential sources of noise in a room
Identify the Noise Sources
Start by identifying potential sources of noise. This could be anything from a window facing a busy street, a noisy air conditioner, or even thin walls. Knowing where the noise is coming from will help you decide where to focus your soundproofing efforts.
Door and window being sealed with weatherstripping
Seal the Doors and Windows
Doors and windows are often the biggest culprits for letting in unwanted noise. Use weatherstripping or door sweeps to seal gaps around doors. For windows, consider using acoustic curtains or window inserts for soundproofing.
Acoustic panels being installed on a wall
Install Acoustic Panels
Acoustic panels absorb sound waves, reducing echo and background noise. Install these on your walls, focusing on areas where sound is likely to bounce off, such as bare walls opposite your recording equipment.
Bass traps and diffusers placed in a room
Use Bass Traps and Diffusers
Bass traps absorb low-frequency sounds, while diffusers scatter sound waves, reducing echo and reverberation. Place bass traps in corners where low frequencies tend to build up, and diffusers on walls and ceilings to break up sound waves.
A carpet being laid on a hard floor
Add a Carpet or Rug
Floors, especially hard surfaces, can reflect sound waves. Adding a carpet or rug can help absorb these reflections, reducing echo and improving your room's acoustics.
Person testing room's acoustics with a microphone
Check Your Work
Once you've implemented your soundproofing measures, test your room's acoustics. Record some audio and listen for any unwanted noise or echo. If necessary, adjust your soundproofing measures until you're satisfied with the results.

Soundproofing your home studio is a crucial step in ensuring crisp, clear, and professional audio recordings. Whether you're setting up a home studio for the first time or looking to improve your existing setup, our step-by-step guide above provides practical solutions to common soundproofing challenges.

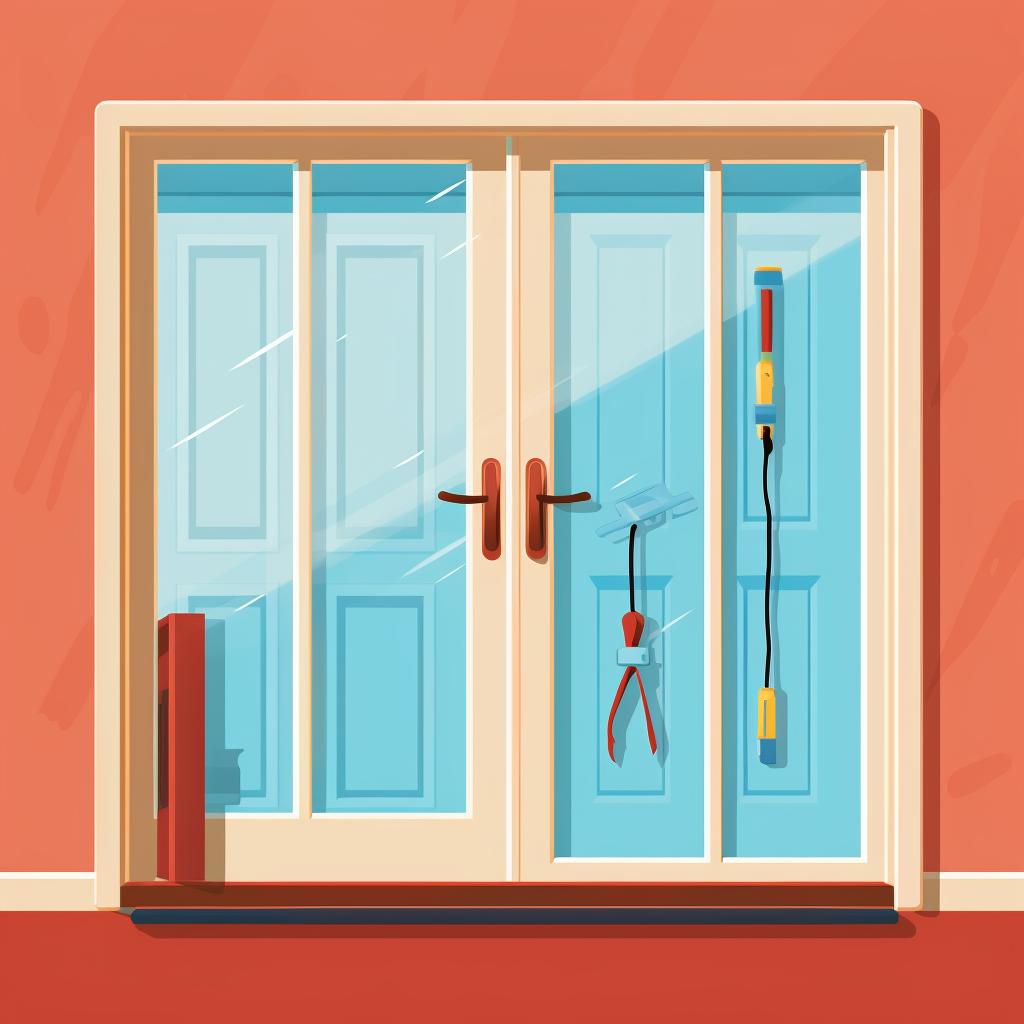
Identifying noise sources is the first step towards a soundproof studio. Once you've pinpointed these noise culprits, you can focus your soundproofing efforts where they're needed most. This could involve sealing gaps around doors and windows, which are common entry points for unwanted noise. Our guide on how to soundproof a studio to prevent sound leakage offers additional tips on this topic.

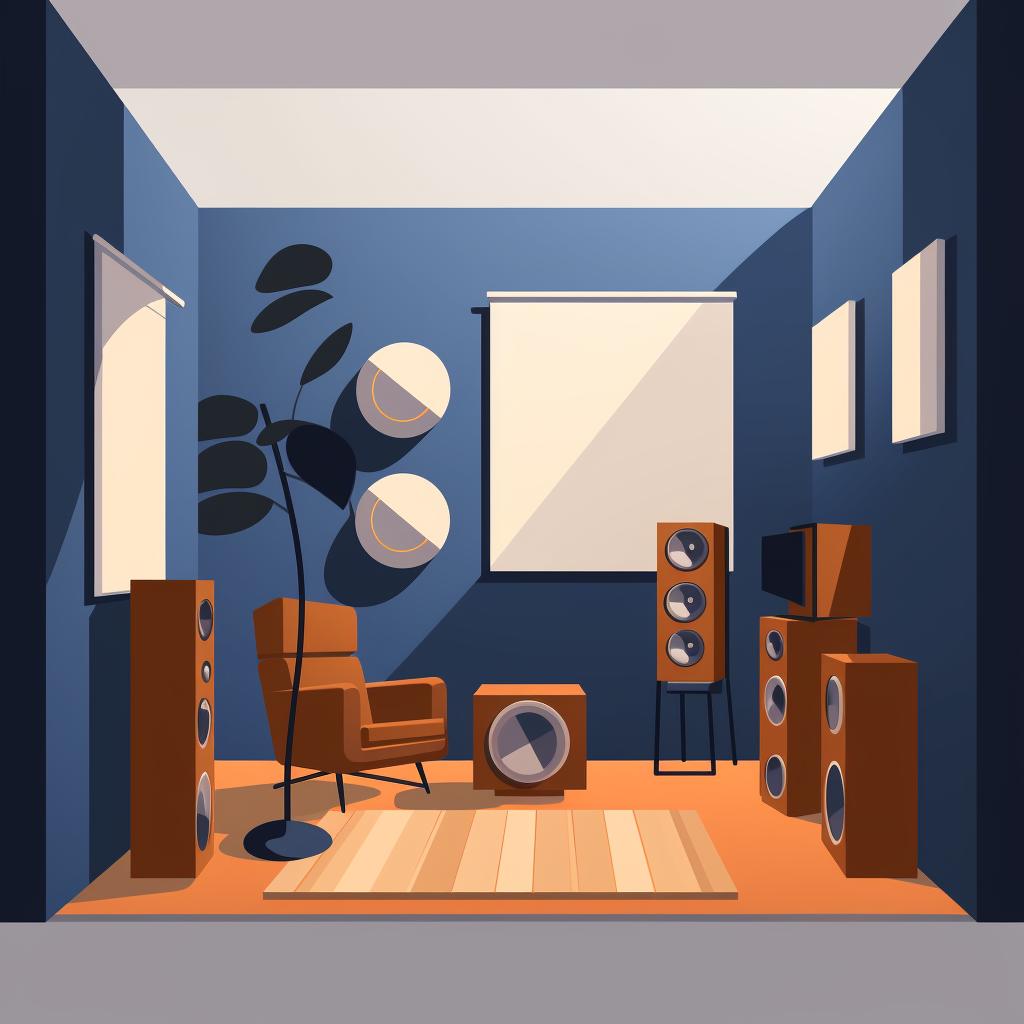
Acoustic panels, bass traps, and diffusers are essential tools for any home studio. They work by absorbing and scattering sound waves, reducing echo and background noise. If you're wondering if you can acoustically treat your home studio yourself, the answer is a resounding yes! With a bit of know-how and the right materials, you can significantly improve your studio's sound quality.

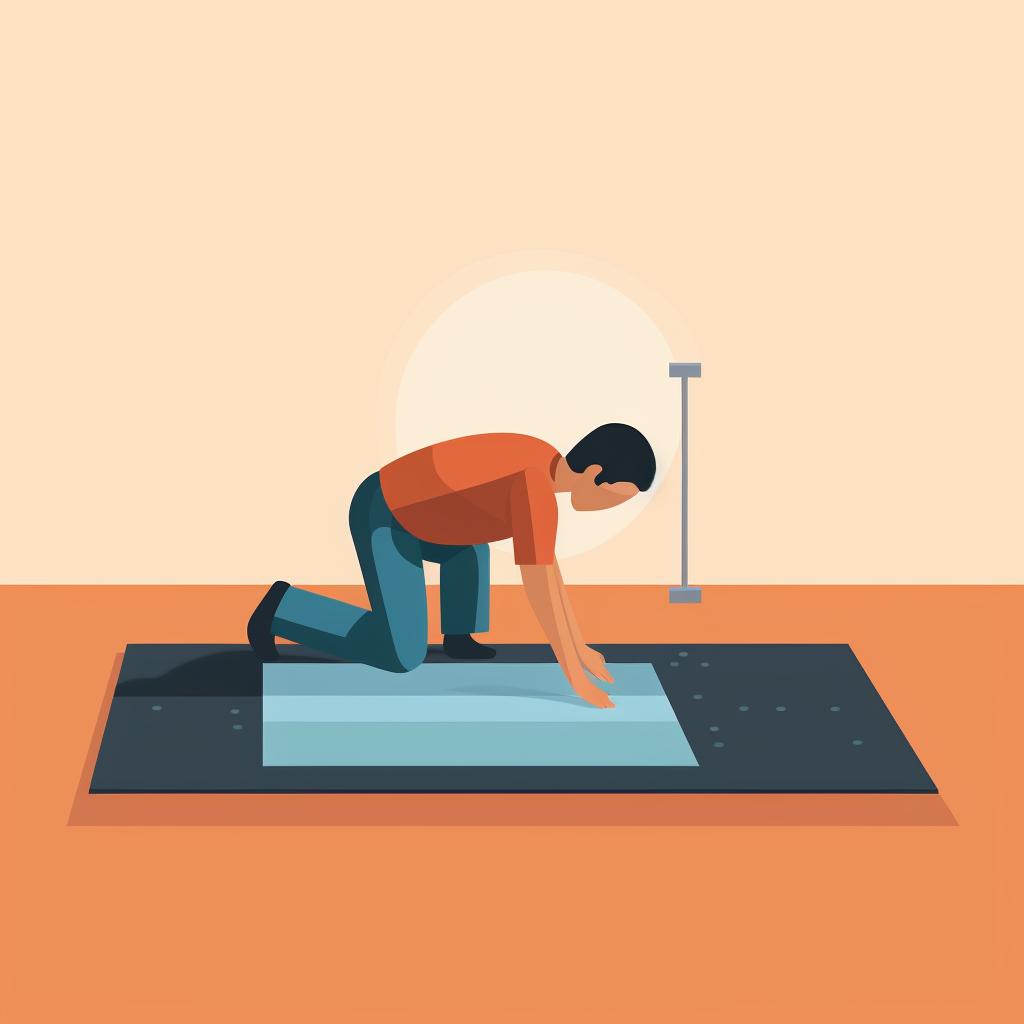
Don't forget about your floor. Hard surfaces can reflect sound waves, leading to unwanted echo. A simple solution is to add a carpet or rug, which can absorb these reflections and improve your room's acoustics.

Finally, it's essential to check your work. Record some audio and listen for any unwanted noise or echo. Adjust your soundproofing measures as needed until you're satisfied with the results. If you're still experiencing issues, you might find our FAQ on how to manage machine noise in a home recording studio setup helpful.

In conclusion, soundproofing your home studio doesn't have to be a daunting task. With the right approach and tools, you can create a professional recording environment right in your own home. Happy recording!