Unlock Perfect Vocals - Home Studio πŸŽ™οΈ

When it comes to setting up a home studio, particularly for vocal recording, the acoustic setup of the room can make or break the quality of your sound. The best acoustic room for recording is one that is well-treated to reduce noise, echo, and other sound distortions. Here's a detailed guide to help you create the perfect acoustic setup for your home studio.

Why Do Room Acoustics Matter in Your Home Studio?

Before diving into the specifics of creating an ideal acoustic room, it's crucial to understand why room acoustics matter. Sound waves can bounce off hard surfaces, creating echoes and background noise that can affect the clarity of your recordings. By treating your room acoustically, you can control these sound reflections and achieve a cleaner, more professional sound.

Which Room in Your House Makes the Best Studio?

Not all rooms are created equal when it comes to acoustics. Ideally, you should choose a room that's not too small or too large, as extreme sizes can create acoustic challenges. Also, avoid rooms with a lot of windows or hard surfaces as they can cause unwanted sound reflections.

With the basics of room acoustics and choosing the right room covered, let's dive into some frequently asked questions about setting up a home studio.

Home Studio Setup FAQs

What is the easiest and cheapest way to create a vocal booth at home?
The easiest and cheapest way to create a vocal booth at home is by using what you already have. Choose a room that's not too small or too large, preferably without many windows or hard surfaces. You can use bookshelves, wardrobes, and soft furnishings to absorb sound. For a more professional setup, consider using acoustic foam panels or diffusers. Remember, the goal is to minimize sound reflections and achieve a dry vocal sound.
πŸ“ˆ
How can I soundproof my room for recording vocals?
Soundproofing your room involves reducing the amount of sound that can enter or leave the room. You can use materials like acoustic foam, bass traps, and diffusers to absorb sound. Sealing gaps around doors and windows can also help. For floors, consider using carpets or rugs. Remember, the goal of soundproofing is to create a quiet environment for recording.
πŸ”Š
What equipment should I use for recording voice and music in a home studio?
The essential equipment for recording voice and music in a home studio includes a good quality microphone, headphones, audio interface, and a computer with recording software. For vocals, a pop filter is also important to reduce unwanted noise. Additionally, you might want to invest in a microphone stand and an isolation shield for better sound quality.
🎀
How can I test and adjust my home studio setup?
After setting up your home studio, it's important to test the acoustics. Record yourself speaking or singing in different parts of the room and listen to the recordings. Notice any echoes, background noise, or other sound issues. Adjust your setup as needed, perhaps by moving your recording equipment or adding more sound-absorbing materials.
πŸ”
What are some recommended home studio setups for recording music?
The ideal home studio setup depends on your specific needs and budget. However, a basic setup might include a dedicated recording space with soundproofing, a quality microphone, headphones, an audio interface, and a computer with recording software. As you gain more experience, you might want to add more equipment, like studio monitors, a MIDI keyboard, or high-end microphones.
🎢

Now that we've answered some common questions, let's move on to the next important aspect of setting up a home studio: soundproofing your room.

How to Keep the Noise Out: Soundproofing Your Studio Room

Once you've chosen your room, the next step is soundproofing. This process involves reducing the amount of sound that can enter or leave the room. This is crucial for ensuring that external noises don't interfere with your recordings. You can achieve soundproofing through a variety of methods, including using acoustic panels, bass traps, and diffusers.

Now that you've chosen your room, let's move on to the crucial task of soundproofing. Here's a step-by-step guide to help you create a soundproof environment for your home studio:

Soundproofing Your Home Studio: A Step-by-Step Guide

Person pointing at potential sources of noise in a room
Identify the Noise Sources
Start by identifying potential sources of noise. This could be anything from a window facing a busy street, a noisy air conditioner, or even thin walls. Knowing where the noise is coming from will help you decide where to focus your soundproofing efforts.
Door and window being sealed with weatherstripping
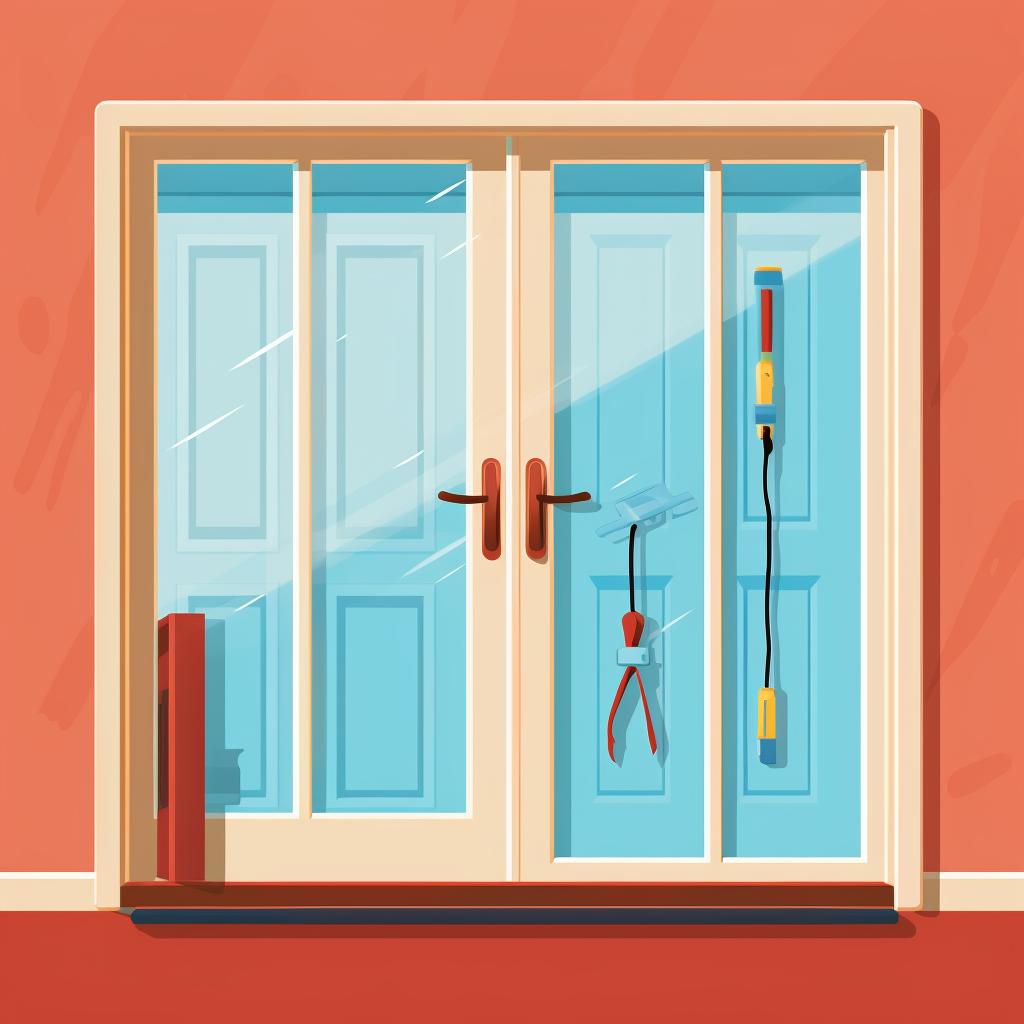
Seal the Doors and Windows
Doors and windows are often the biggest culprits for letting in unwanted noise. Use weatherstripping or door sweeps to seal gaps around doors. For windows, consider using acoustic curtains or window inserts for soundproofing.
Acoustic panels being installed on a wall
Install Acoustic Panels
Acoustic panels absorb sound waves, reducing echo and background noise. Install these on your walls, focusing on areas where sound is likely to bounce off, such as bare walls opposite your recording equipment.
Bass traps and diffusers placed in a room
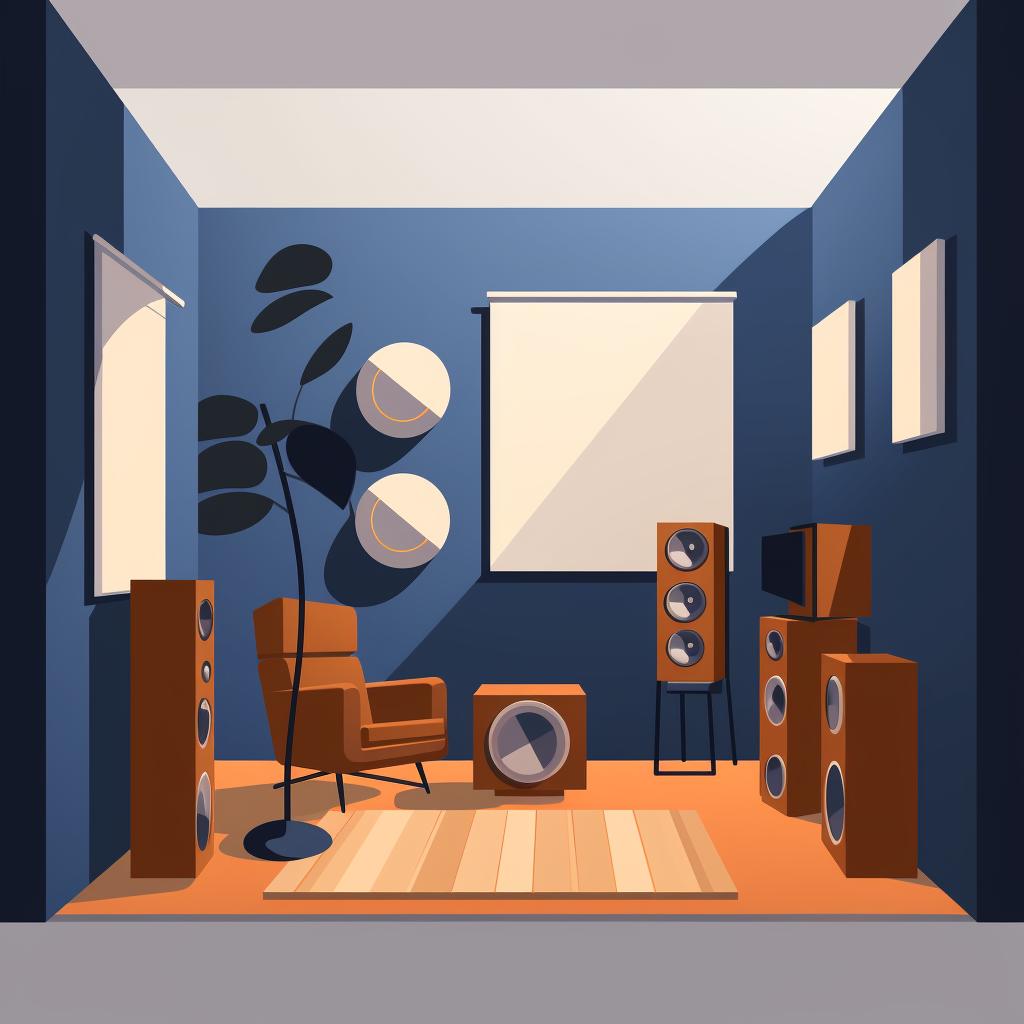
Use Bass Traps and Diffusers
Bass traps absorb low-frequency sounds, while diffusers scatter sound waves, reducing echo and reverberation. Place bass traps in corners where low frequencies tend to build up, and diffusers on walls and ceilings to break up sound waves.
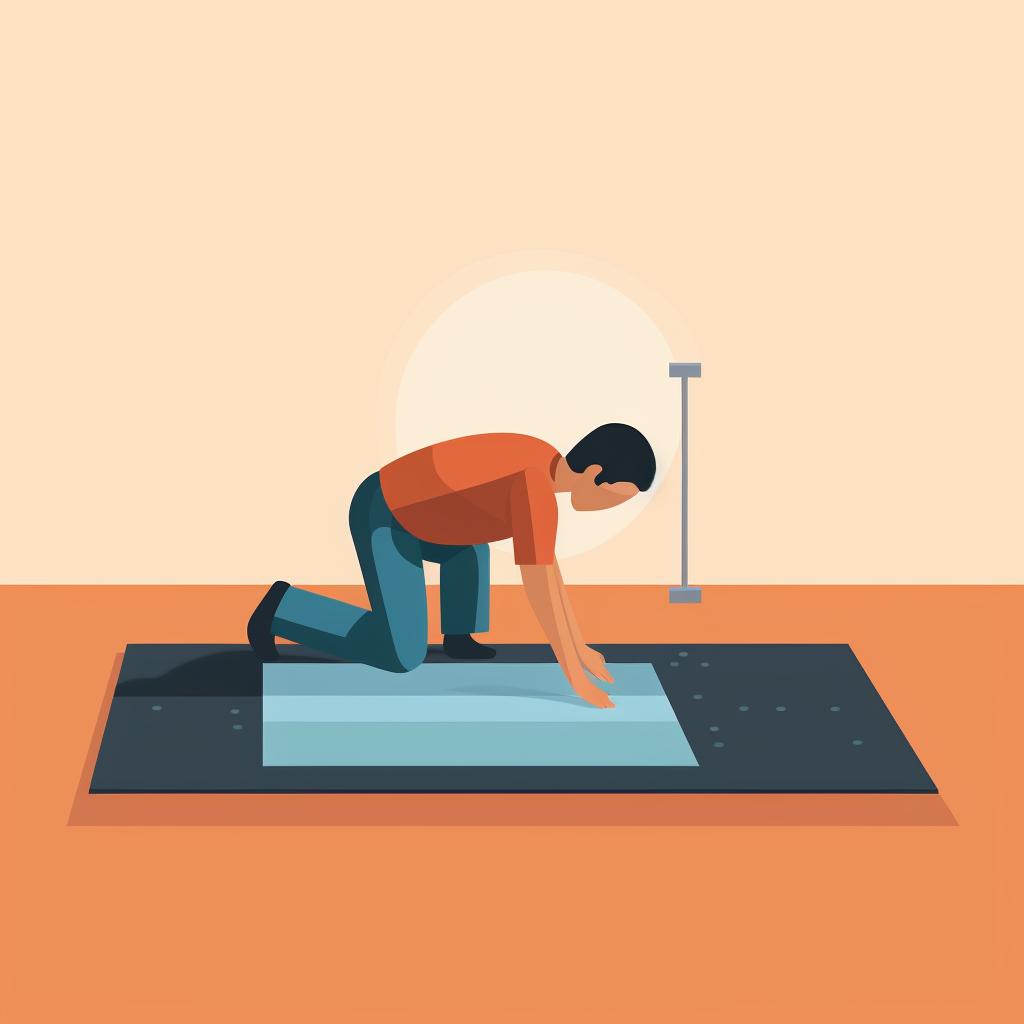
A carpet being laid on a hard floor
Add a Carpet or Rug
Floors, especially hard surfaces, can reflect sound waves. Adding a carpet or rug can help absorb these reflections, reducing echo and improving your room's acoustics.
Person testing room's acoustics with a microphone
Check Your Work
Once you've implemented your soundproofing measures, test your room's acoustics. Record some audio and listen for any unwanted noise or echo. If necessary, adjust your soundproofing measures until you're satisfied with the results.

Learn more about πŸ”‡ Soundproofing Your Home Studio: A Step-by-Step Guide πŸ”‡ or discover other guides.

With your room now soundproofed, you're ready to set up your recording space. Let's move on to how you can arrange your equipment for the best results.

Creating Your Perfect Recording Spot in Your Home Studio

The setup of your recording space can also influence the quality of your vocal recordings. For the best results, place your microphone in the middle of the room, away from walls and other reflective surfaces. Additionally, consider using a pop filter to reduce plosive sounds and a microphone isolation shield for further sound isolation.

Now that we've discussed the importance of room selection and setup for your home studio, you may have a few questions. Let's address some of the most common queries:

Home Studio Setup: Your Questions Answered

What is the ideal room size for a home recording studio?
The ideal room size for a home recording studio can vary depending on your needs and the space available. However, a medium-sized room, not too small or too large, is often recommended. A room that's too small can lead to sound reflections and poor acoustics, while a room that's too large might make it hard to control the sound. The key is to find a balance and then work on soundproofing and acoustics.
πŸ“
How can I soundproof my home studio on a budget?
Soundproofing a home studio doesn't have to be expensive. Some affordable methods include using thick curtains or blankets to cover windows and walls, sealing gaps and cracks with acoustic sealant, and using door sweeps to block sound from coming in under doors. Additionally, DIY bass traps and diffusers can be made from affordable materials like foam or wood.
🚧
What role does a pop filter play in vocal recording?
A pop filter is a screen placed between the singer and the microphone to reduce or eliminate 'popping' sounds (plosives) that can be produced when pronouncing certain consonants, like 'p' or 'b'. This helps to ensure a cleaner and clearer vocal recording. It's a small investment that can greatly improve the quality of your recordings.
🎀
What equipment is essential for a home recording studio?
The essential equipment for a home recording studio includes a good quality microphone, headphones, audio interface, pop filter, and soundproofing materials. A computer with recording software (also known as a DAW, or Digital Audio Workstation) is also necessary. Depending on your needs, you might also want to consider getting a MIDI keyboard, studio monitors, and microphone isolation shield.
πŸ’»

With these tips in mind, you're ready to move on to the next step: testing and adjusting your setup to ensure the best sound quality.

Did You Nail It? Testing and Tweaking Your Studio Setup

After setting up your room, it's important to test the acoustics and make any necessary adjustments. Record yourself speaking or singing in different parts of the room and listen back to identify any issues with echo, background noise, or sound clarity. You can then adjust your setup as needed to improve the sound quality.

Home Studio Acoustics Quiz

Test your knowledge on home studio acoustics. Choose the best answer for each question.

Learn more about 🎧 Home Studio Acoustics Quiz - Test Your Knowledge 🎡 or discover other quizzes.

Setting up a home studio can seem daunting, but with the right knowledge and tools, you can create a space that's perfect for recording vocals. Remember, the goal is to create a room that reduces noise, controls sound reflections, and allows you to capture your voice in the highest possible quality. Happy recording!

How helpful did you find this guide on setting up a home recording studio?

We'd love to know your thoughts! How useful did you find our guide on setting up a home studio for vocal recording?

For more tips and advice on home recording, check out our other articles and FAQs on related topics.

Let's delve into some frequently asked questions about setting up a home studio for vocal recording.

Home Studio Setup FAQ

Why do room acoustics matter in a home studio?
Room acoustics play a crucial role in the quality of your recordings. They can influence how sound waves interact within the space, affecting the clarity and tone of the recorded audio. A well-designed acoustic room can help to minimize unwanted echoes and background noise, ensuring that your vocals are captured as clearly and accurately as possible.
πŸ“ˆ
What factors should I consider when choosing a room for my home studio?
When choosing a room for your home studio, consider its size and shape. Avoid rooms that are too small or too large, as they can create undesirable sound distortions. The room should also be relatively quiet and free from outside noise. If possible, choose a room with minimal windows and doors, as these can leak sound.
🚧
What is the easiest and cheapest way to create a vocal booth at home?
A simple and cost-effective way to create a vocal booth at home is by using portable soundproofing panels. These can be installed on the walls and ceiling of your chosen room to help absorb sound and prevent echoes. For added soundproofing, consider placing a thick rug on the floor and hanging heavy curtains over any windows.
πŸ’»
What equipment should I use for recording voice and music in a home studio?
At a minimum, you'll need a good quality microphone, headphones, and audio interface for recording voice and music in a home studio. A pop filter can also be useful for reducing plosive sounds, while a microphone stand can help to ensure consistent sound quality. For music recording, you may also need instruments or a MIDI keyboard, as well as a digital audio workstation (DAW) software.
🎢
How can I test and adjust the acoustics of my home studio?
After setting up your home studio, record yourself speaking or singing at various points in the room. Listen back to the recordings and note any areas where the sound quality is poor or inconsistent. You can then make adjustments to your setup as needed, such as moving your microphone, adding more soundproofing, or repositioning your furniture.
πŸ”Š

We hope this FAQ section has provided some valuable insights into setting up your home studio. Remember, the key to a successful home studio is to experiment and adjust until you find what works best for you.

Olivia 'Liv' Harmony
Singing, Songwriting, Acoustic Music, Music Education

Liv is a singer-songwriter and music teacher with a passion for acoustic music. She has a wealth of experience in recording vocals and acoustic instruments. Liv loves helping others capture their musical ideas in the best possible quality.